Duck Checkers
2024-11-17
Last year, my wife discovered Duck Chess, a version of chess where you put down a duck piece after every move. The duck essentially blocks your opponent for their turn, then the opponent can place their own duck, removing your original one. It seems like a small change, but it has big implications for how the game is played.
Chess is fine, but checkers is also a game that she often likes to play online against our friends, and she's good at it. So good that I've abandoned the idea of winning a game, but when she had the idea for a version of checkers that also involved the duck piece, I figured it would be a quick piece to put together.
Boy, was I wrong.
The Product
Users start at the home page. This location allows them to see all the ongoing games to join or to start their own game. In the top right of the page, they can see their username (randomly generated) and click it to scramble it into a new one. I had no interest in managing user accounts for this project, so this was an easy (yet insecure) way of handling it.
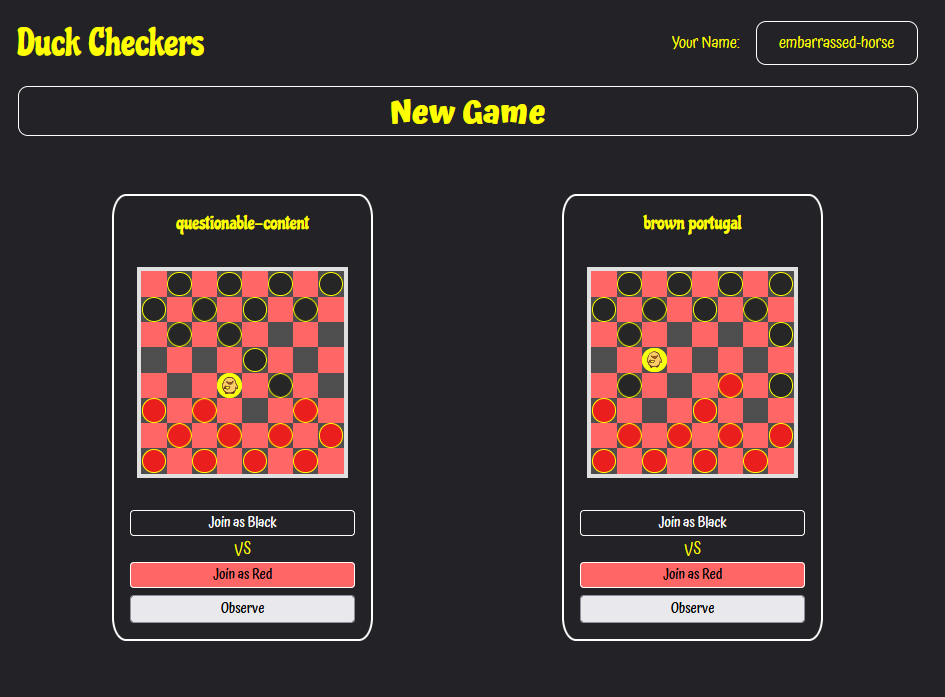
Each game card shows the current state of the game. If someone is already in a game, users see their username and have the option of joining the game as their opponent. If they only want to watch the game, they can click the Observe option.
The game can end in one of three ways: a player has lost all of their pieces, a player has no legal moves remaining, a player forfeits the game. Once the game is over, a user can remain on the page as long as they want, but there's no interaction. Completed games aren't stored, so after returning to the main page the game is gone.

Learning Goals
I set out a couple of new learning goals for myself. Firstly, I knew I was going to need websockets to make this game work smoothly. These were covered lightly in school, but admittedly a lot of that has gone unused since then. Secondly, I had heard so many good things about Svelte, a frontend framework similar to Vue. Videos online always raved about how developer friendly it was, so it was time I gave it a try. Finally, I had also seen a lot of promotion for Bun, an alternative JavaScript runtime to Node. It boasted much faster speeds and several built-in features, so I thought I would use that as my base.
Bun

Elysia
Part of choosing Bun was that I was also going to try out Elysia for my API framework. I didn't need much for a backend, so it seemed like a good fit, and it was Bun's advertised API framework. I immediately ran into issues. I like to use TypeScript on my projects these days, but there were typing errors that impeded its use. The straw that broke the camel's back was around HTTP request params. Every time you included a request param, it would have required forcing a custom type because Elysia doesn't allow for just any param name. Sure enough, I found this issue open on their GitHub Issues, and I added my two cents. In the end, I switched back to old, familiar Express. It just works.
Svelte
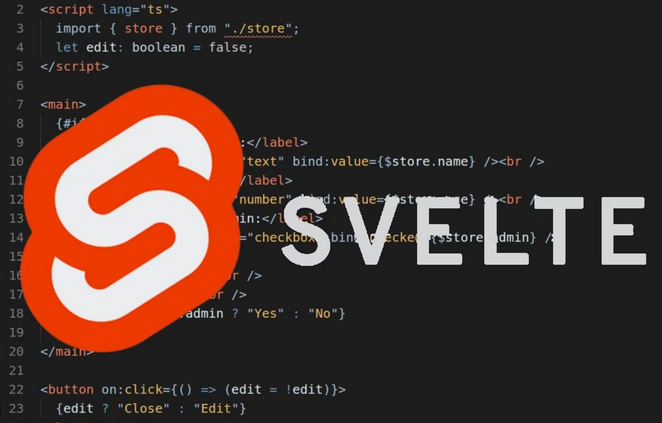
Svelte is similar to Vue in that you store the script, HTML, and CSS all in one file for a component. You can still import code from other files, but if it's specific to this component, it should go in this file. I like how this approach keeps things organised. Even nicer that it keeps the CSS scoped. I did remember that I don't love doing CSS without a library, and Svelte didn't really have an option that I jived with. I ended up just doing it myself, so that's why it looks the way it does.
The use of stores is an interesting way of handling state. I treated it like React Context, but with the intention to set the state and use it like a tracker within the game. I'm sure there are a lot of best practices that I broke here, but I liked having two stores: one for the game (should be synced between users) and one for the individual user's data, like which tiles should be highlighted on screen.
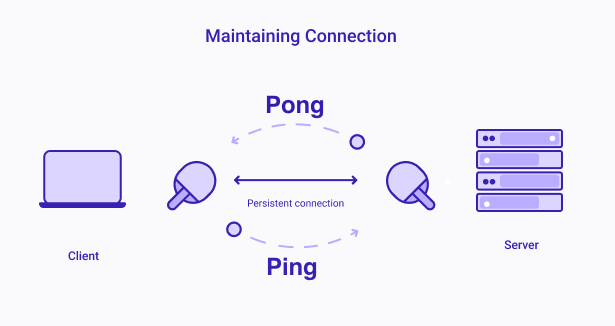
Websockets
When you play online games, the interaction requires a smoothness that you can never get with HTTP requests. Plus, HTTP is all about the request and response flow. Websockets are needed for that unsolicited sending of data to keep the board updated as soon as the other player makes a move. Without websockets, you'd have to constantly make requests to see if things had changed. It's simply the best way to make an online game.
The data that websockets transmit is essentially text, but I found that if I stringify JSON data and parse it on the other side, it really opened up what I could do with it. I decided to use a messaging system of sorts. When a websocket message is received, the message will be marked with a number that corresponds to that message type. For example, the message types include Arrival Announcement, Game State, and Move Request, but there are many more. Both the client and server look at the type of message and decide how to handle that in general.
This system ends up being very consistent because I can broadcast the message if all connected users need to receive the update and the messages are always idempotent. If for some reason the game's state is sent twice, all users will still be in-sync.
Deployment
I wasn't really planning on letting anyone play at first. Dealing with application traffic and uptime is a long-term commitment, but I wanted my wife and friends to be able to play at least. At first I imagined that I could run the Docker containers on my Raspberry Pi and just port forward the access. Turns out the standard Bun image doesn't support arm64/v7 architecture. I could run it on my Windows machine, but I didn't really want to keep that running 24/7, and the router from Rogers, my internet provider, doesn't seem to actually allow port forwarding. Time for a 3rd-party router probably.
The process went like this:
- Tag and push images to Docker Hub
- Configure and deploy that image in Google Cloud Run
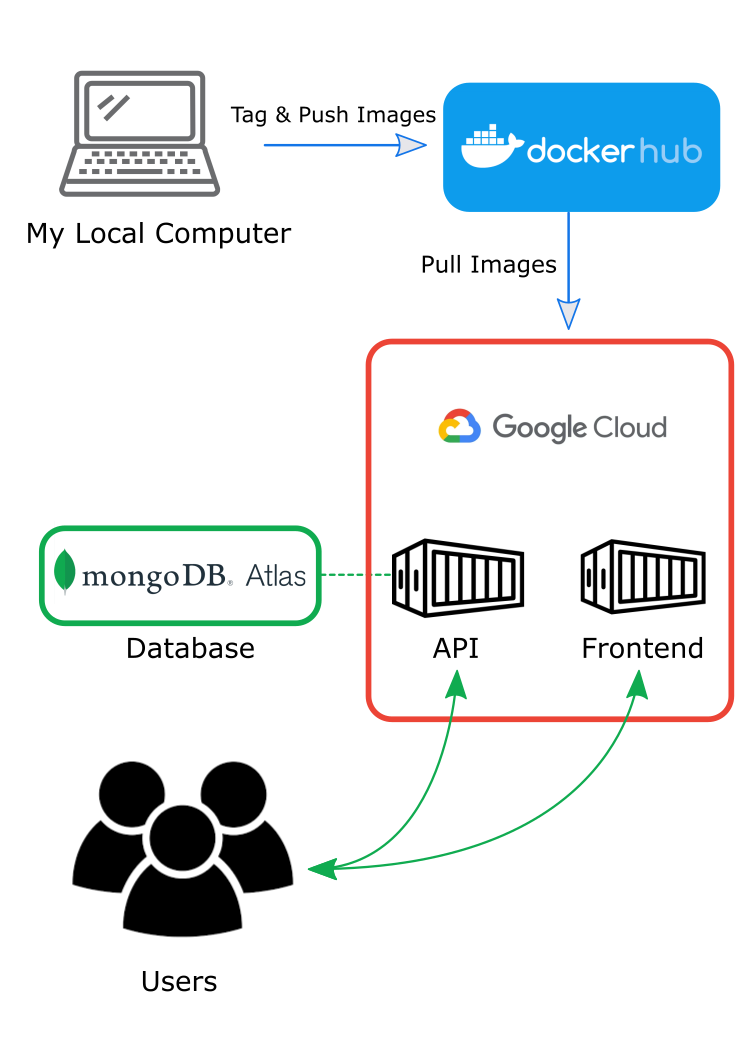
That's it. It took a little tweaking to get the environment variables just right, but it worked pretty well. I ended up using Mongo Atlas for an online solution for my Mongo database because they also have a small free offering. The only downside to this whole thing is that my Google Cloud containers sleep when not in use, so if it's the first time that someone has accessed them in a while, the spin-up time is a few seconds.
Parting Words
I can't guarantee that this site will still be up by the time you read this, but there's a chance you could play Duck Checkers right here. If not, visit the GitHub repository and run it yourself. Instructions are there, and it's not asking for a lot. In case the live site is gone and you can't run a local copy, here's a demo:
I chipped away at this project for about a year. There were months I didn't touch it at all, and I was ready to call it several times, but I'm glad it's done. It's just in time for this year's Advent of Code.