SushiBot - Part 2
2022-04-23
As always, follow this link to see the GitHub repository.
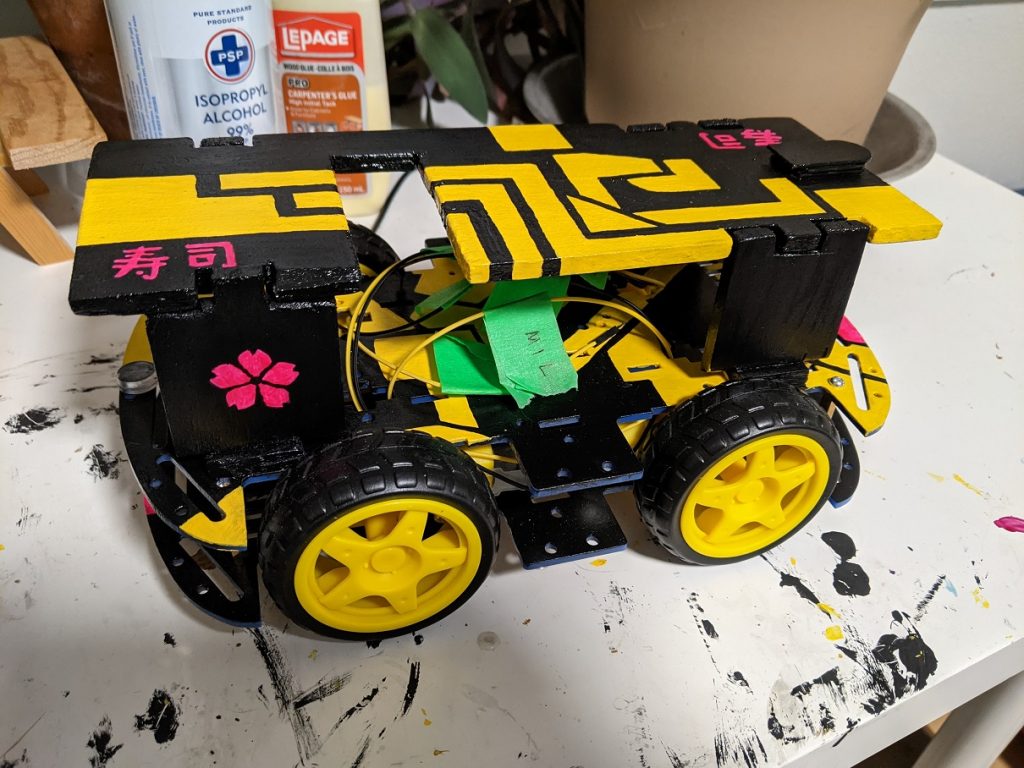
Well, I've been holding on to this post for almost two months now, hoping that I might get a chance to get some “in action” shots, but the next dinner opportunity is far away, so let's take a look at the SushiBot now.
You might remember from my last post on the SushiBot that we had previously assembled all the parts (a Raspberry Pi, a chassis, motors and motor controller) into a functioning robot that could drive on command. At that point, it basically had a small set of instructions that included turning, going forward, or going backwards. My wife had named it Nigiri.
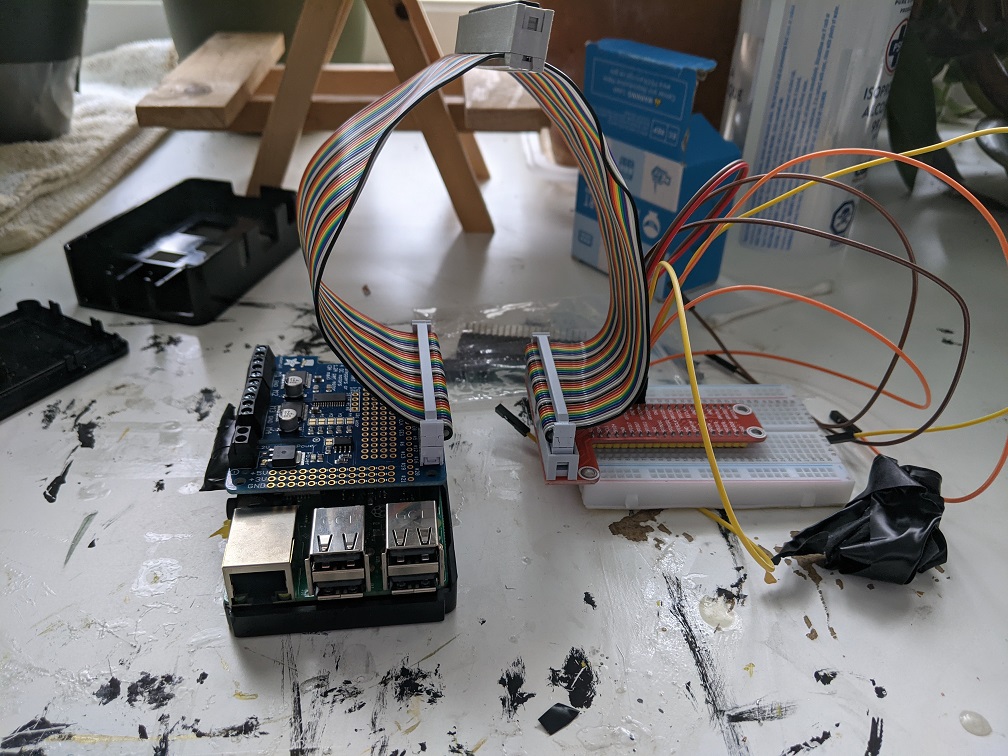
I mentioned at the end of that post that there was a bit of a setback. The Raspberry Pi was chilling under our bed, a seemingly safe place where I could keep it powered on and simply SSH in to do some light tinkering on the SushiBot code. One day, however, I received no response. Upon investigation, there was no green LED, indicating that nothing was being read/written to the microSD card. Many Google searches later, I came to the conclusion that somehow the 3v3 power rail had shorted out. It was odd, seeing as we hadn't touched it, but there really was no immediate fix. I found another used Raspberry Pi 3B+ online, and we began to wait a month for its arrival.
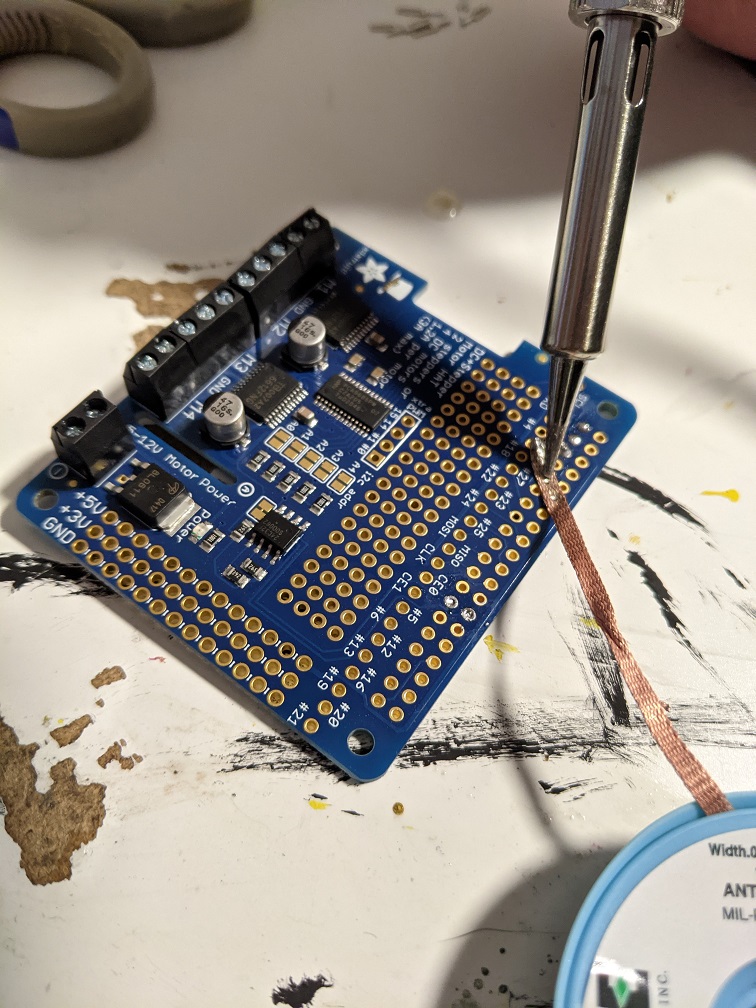
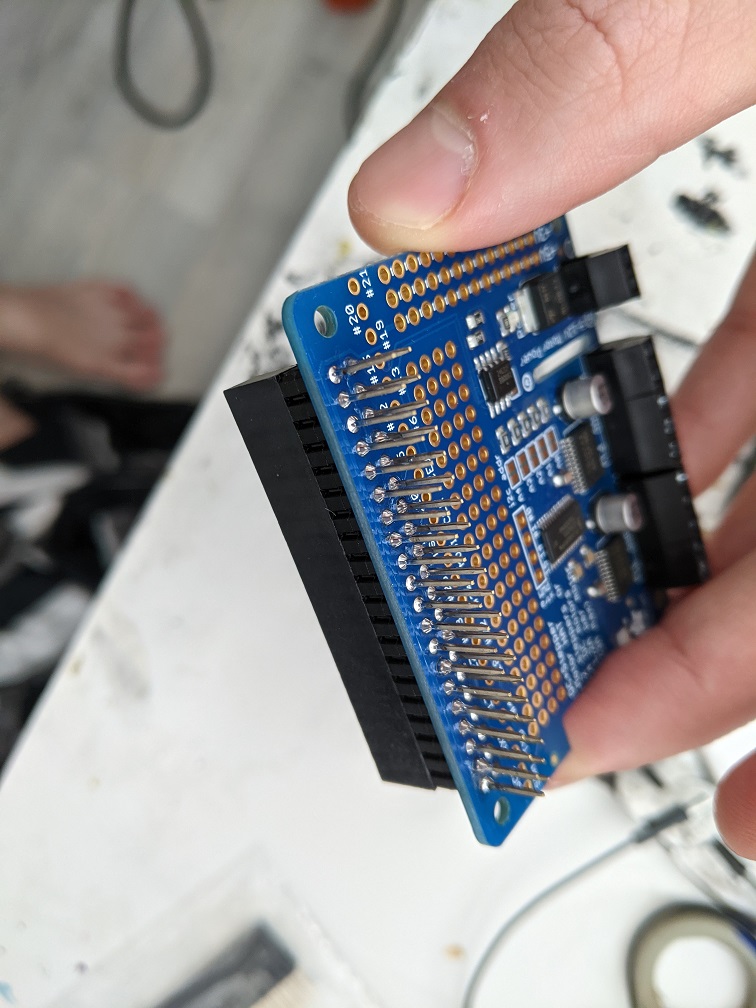
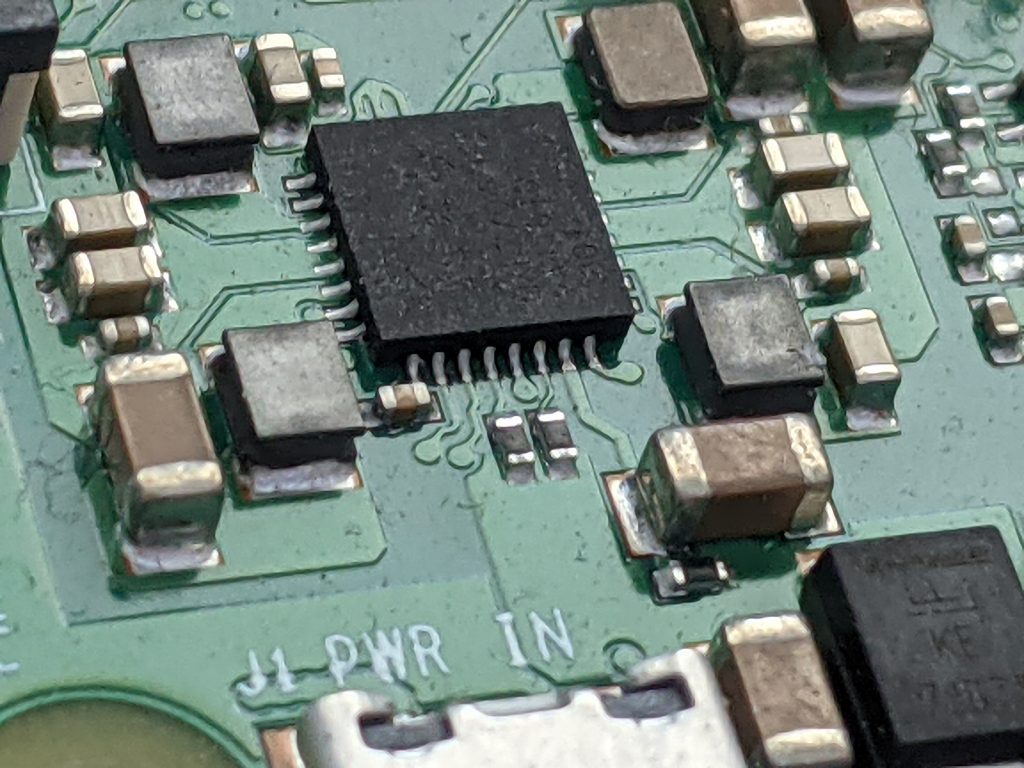
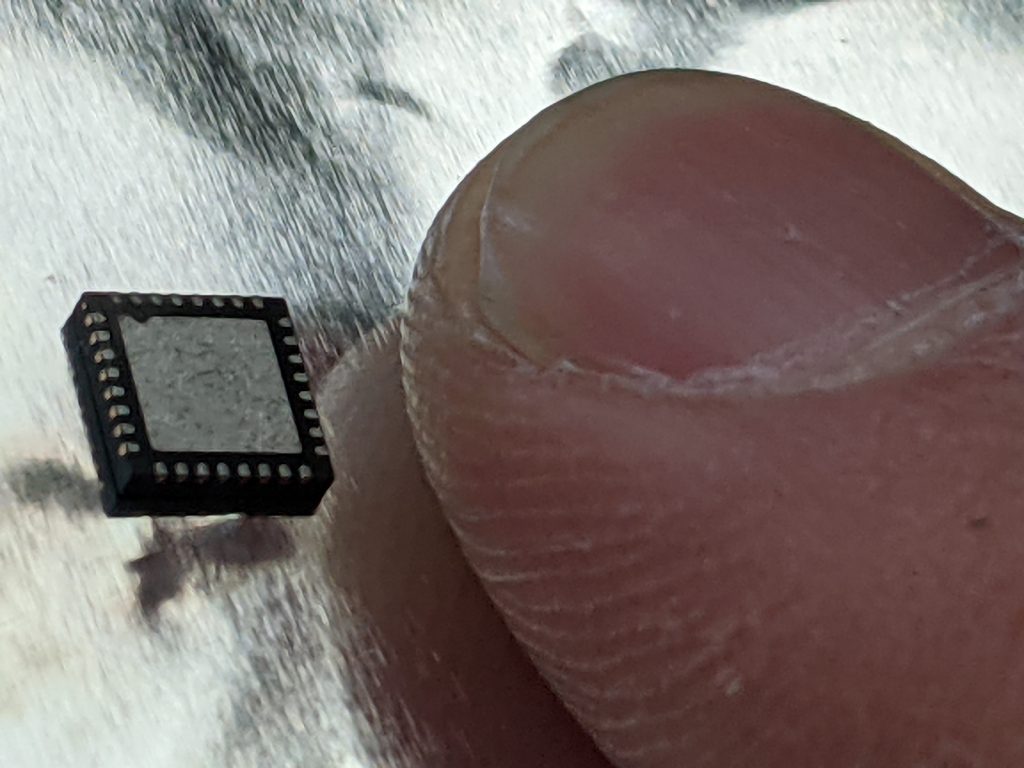
In the mean time, I also ordered a new power distribution chip for the dead Pi. They are incredibly cheap, and there's a location in China that ships them already pre-programmed to match the chip on the Pi that had seemingly shorted out. This eventually did arrive (after the new Pi), but I think I overestimated my soldering skills here. Maybe with a proper flow-soldering setup, I might have been able to pull it off, but trying to use a heat gun to flow solder the chip was not easy, and the plethora of tiny resistors that surrounded it made the job seemingly impossible by my hands. It was a fun experiment, but I ended up calling it quits on that board.
To continue development while I was Pi-less, I used the desktop version of Raspberry Pi OS. The big loss here was that I had no feedback to know if the motor controller commands were truly working. I couldn't even use the adafruit library without the motor controller attached, so I had to make a mockMotor.py file to simulate the controller's methods. I also found a great GPIO simulator which worked for testing the IR sensor inputs.
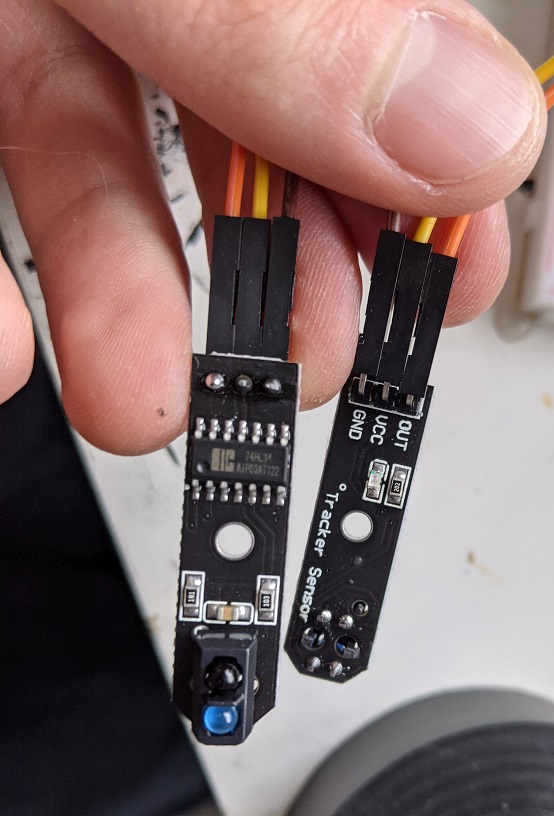
One thing that we noticed with these IR sensors was that they were very finicky. There is a minuscule difference in height required that separates a true or false detection. They are easily tricked by shadows and different floor textures. When installing them on the chassis, the height had to be just right. There are some models that apparently allow fine-tuning via the hardware directly, but that's not what we had.
I whipped up an automatic.py file that would call driving instructions from the manual.py file and use the two IR sensors we had mounted on the front of the SushiBot to determine which instructions to issue. Initial tests were rough. I had tried to add some form of acceleration to the driving instructions, but it didn't play nice with corners. Corners, actually, ended up being the biggest challenge. My original manual.py file assumed smooth turning, but that required a set turning radius. With the sensors, there could potentially be a turning radius of any size, so the old instructions would either under or overshoot the turn.
The solution to this was to step the sophistication back a bit and revert to tank controls. Want to turn left? Right wheels go forward, left wheels go backwards. It worked exceedingly well, but I wasn't super happy with how it looked, especially when pulling the trailers. I spent a lot of time fiddling with the parameters to get it running with as little jerkiness to the trailers as possible. It's better than when we started, but I'm considering this a stretch goal at this point. If we had a mechanism to actually turn the front wheels like a real vehicle, I think it would be possible, but not with this current setup.
We set up a testing track in our room, and let her rip. Below you can see what was one of the final tests. Hockey stick tape ended up being a great line material due to its low reflectivity. The perpendicular lines are stop lines, with the idea being that people would have time to add or remove trays of sushi during dinner. It's incredible how much weight these little motors can pull. We put old textbooks on the trailers to see, and apart from going a bit slower, there wasn't a huge difference in performance.
Now we're just waiting for an actual dinner opportunity to test this out. My wife is thinking of having a make-up New Year's dinner sometime this summer, so I'll be sure to add a video of the SushiBot in action then.
Update! October 2022
It finally happened! We hosted a Japanese dinner and used the SushiBot to deliver a few trays of sushi. Overall, it went really smoothly, although I don't know if people realised it would not wait for them forever.
Some new challenges I realized from this live trial:
- The brand of tape is important. I usually use black hockey stick tape. It is matte, so usually works well. This brand had some sparkle to it, and that was enough to confuse the sensor. Had to find some alternative tape last minute.
- The sensors are finicky. We had to build ramps to get over the little floor joints, otherwise it would think the sensors were too far from the ground.
I think if I keep tinkering on this project that the next step will be some sort of interface. Perhaps a server running on the Raspberry Pi that awaits commands and a web app front end that people could click on to drive the robot. We'll see!